
Halloween spoopy quilt complete!
A warm hello and thank you to the wonderful denizens of Bluesky who use the #quiltsky hashtag. I recently found out about this hashtag’s existence and used it over there, and a really wonderful community of people showed up and supported me when I was in the middle of this little project and GENUINELY considering abandoning it.
But I didn’t - and now I’m happy to say I finished this Halloween quilted table runner.
Here’s how it all went.
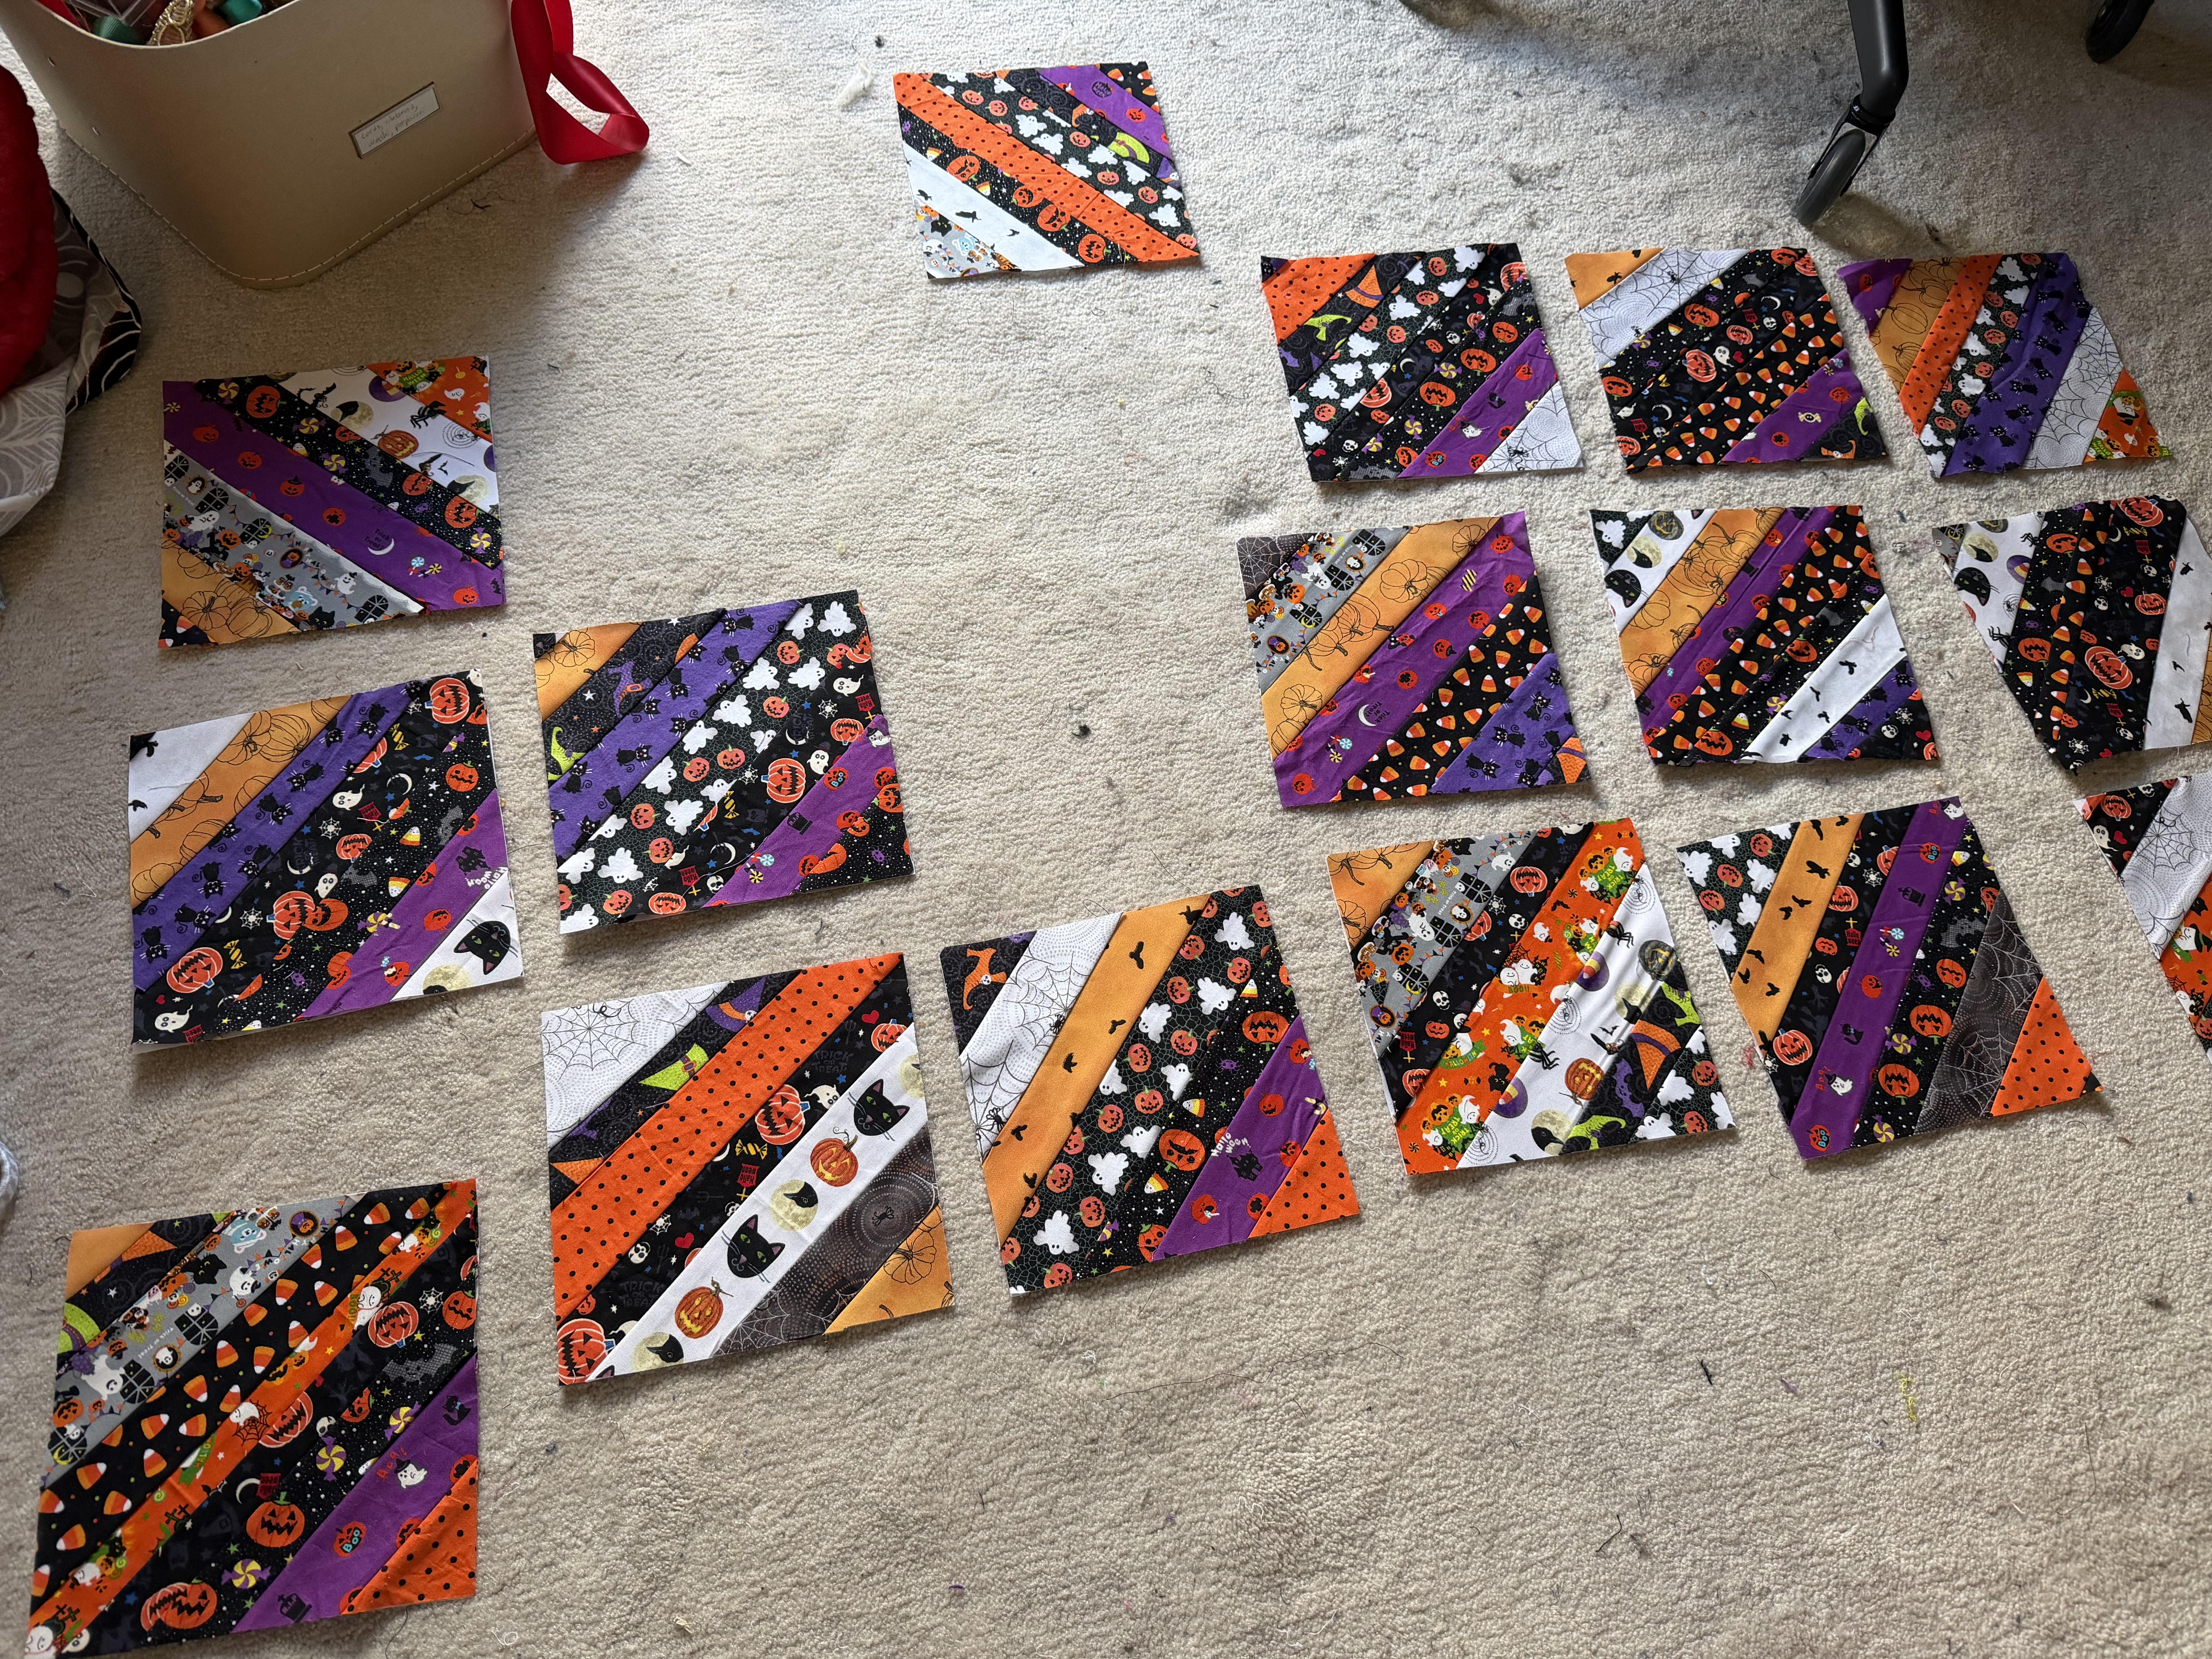 Doing some strategizing
After finishing the main blocks, I laid them out on my very, very badly needing vaccuuming floor. Woof, look at all those bits of fabric fuzz, ugh.
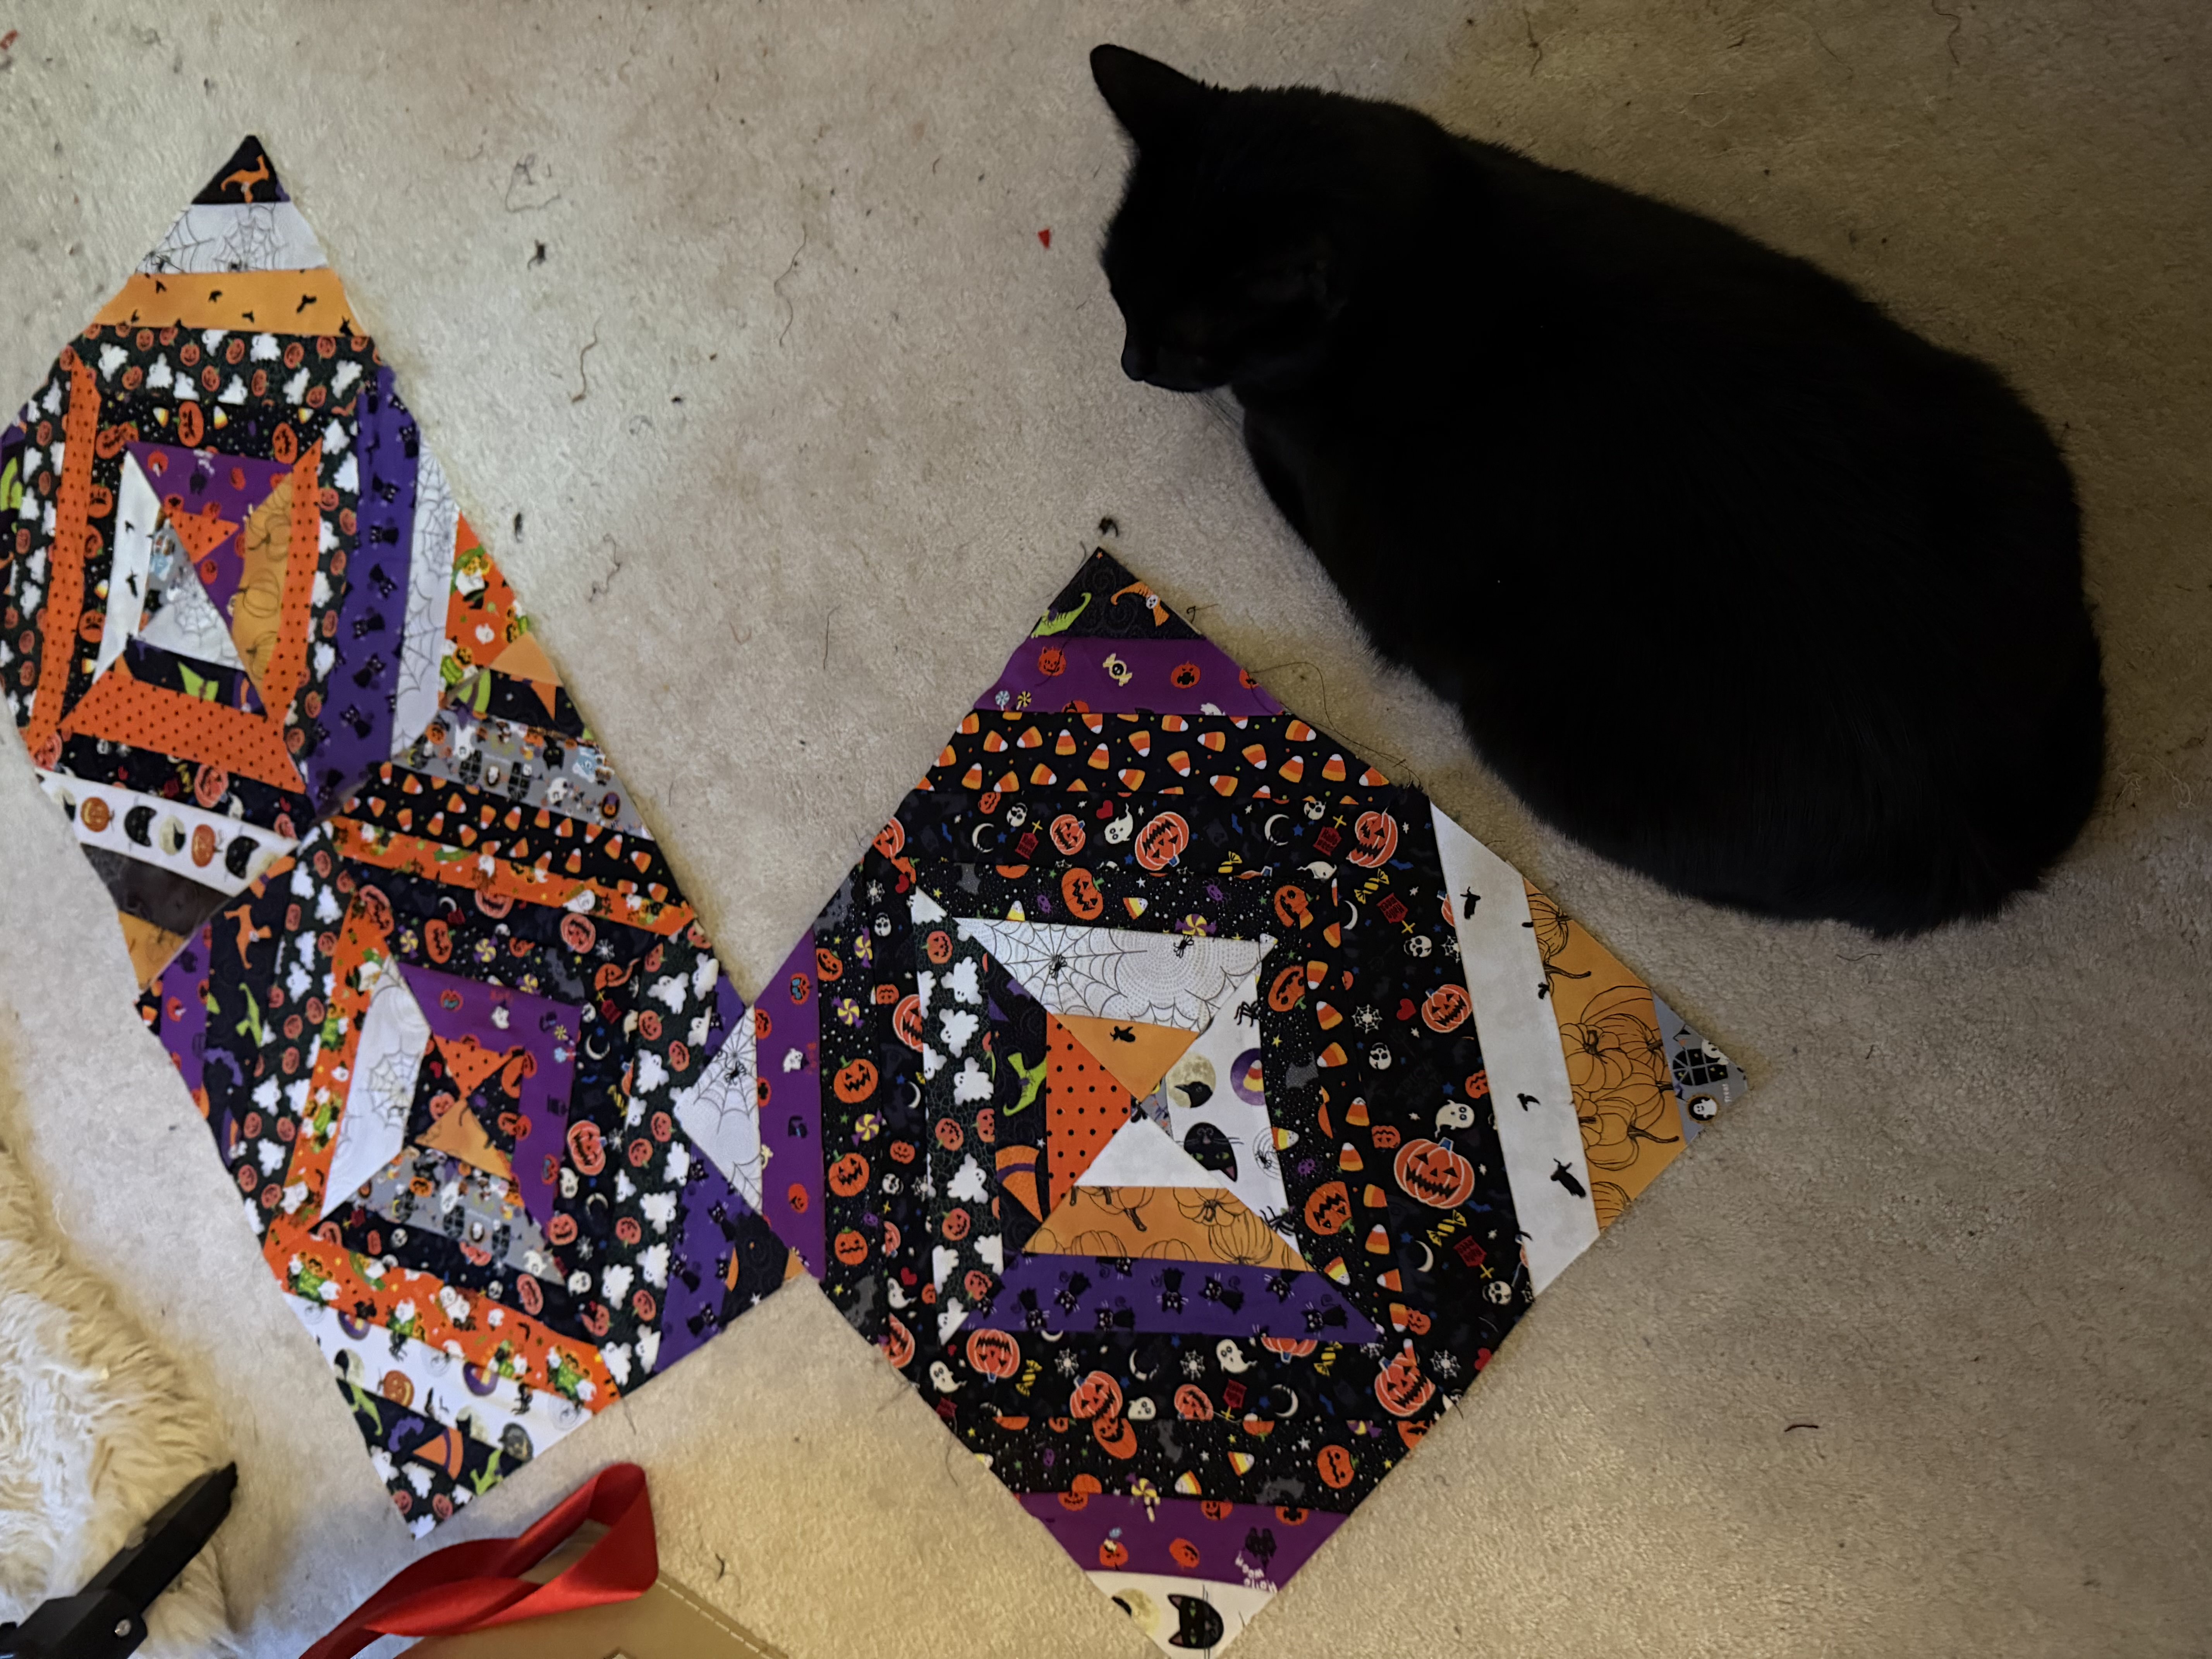 Pumpkin offers her editorial opinions and also says “please vaccuum this floor, mother”
In any case, I did my best to ignore that and just get a sense of what might work with what, and grouped the blocks in sets of 4.
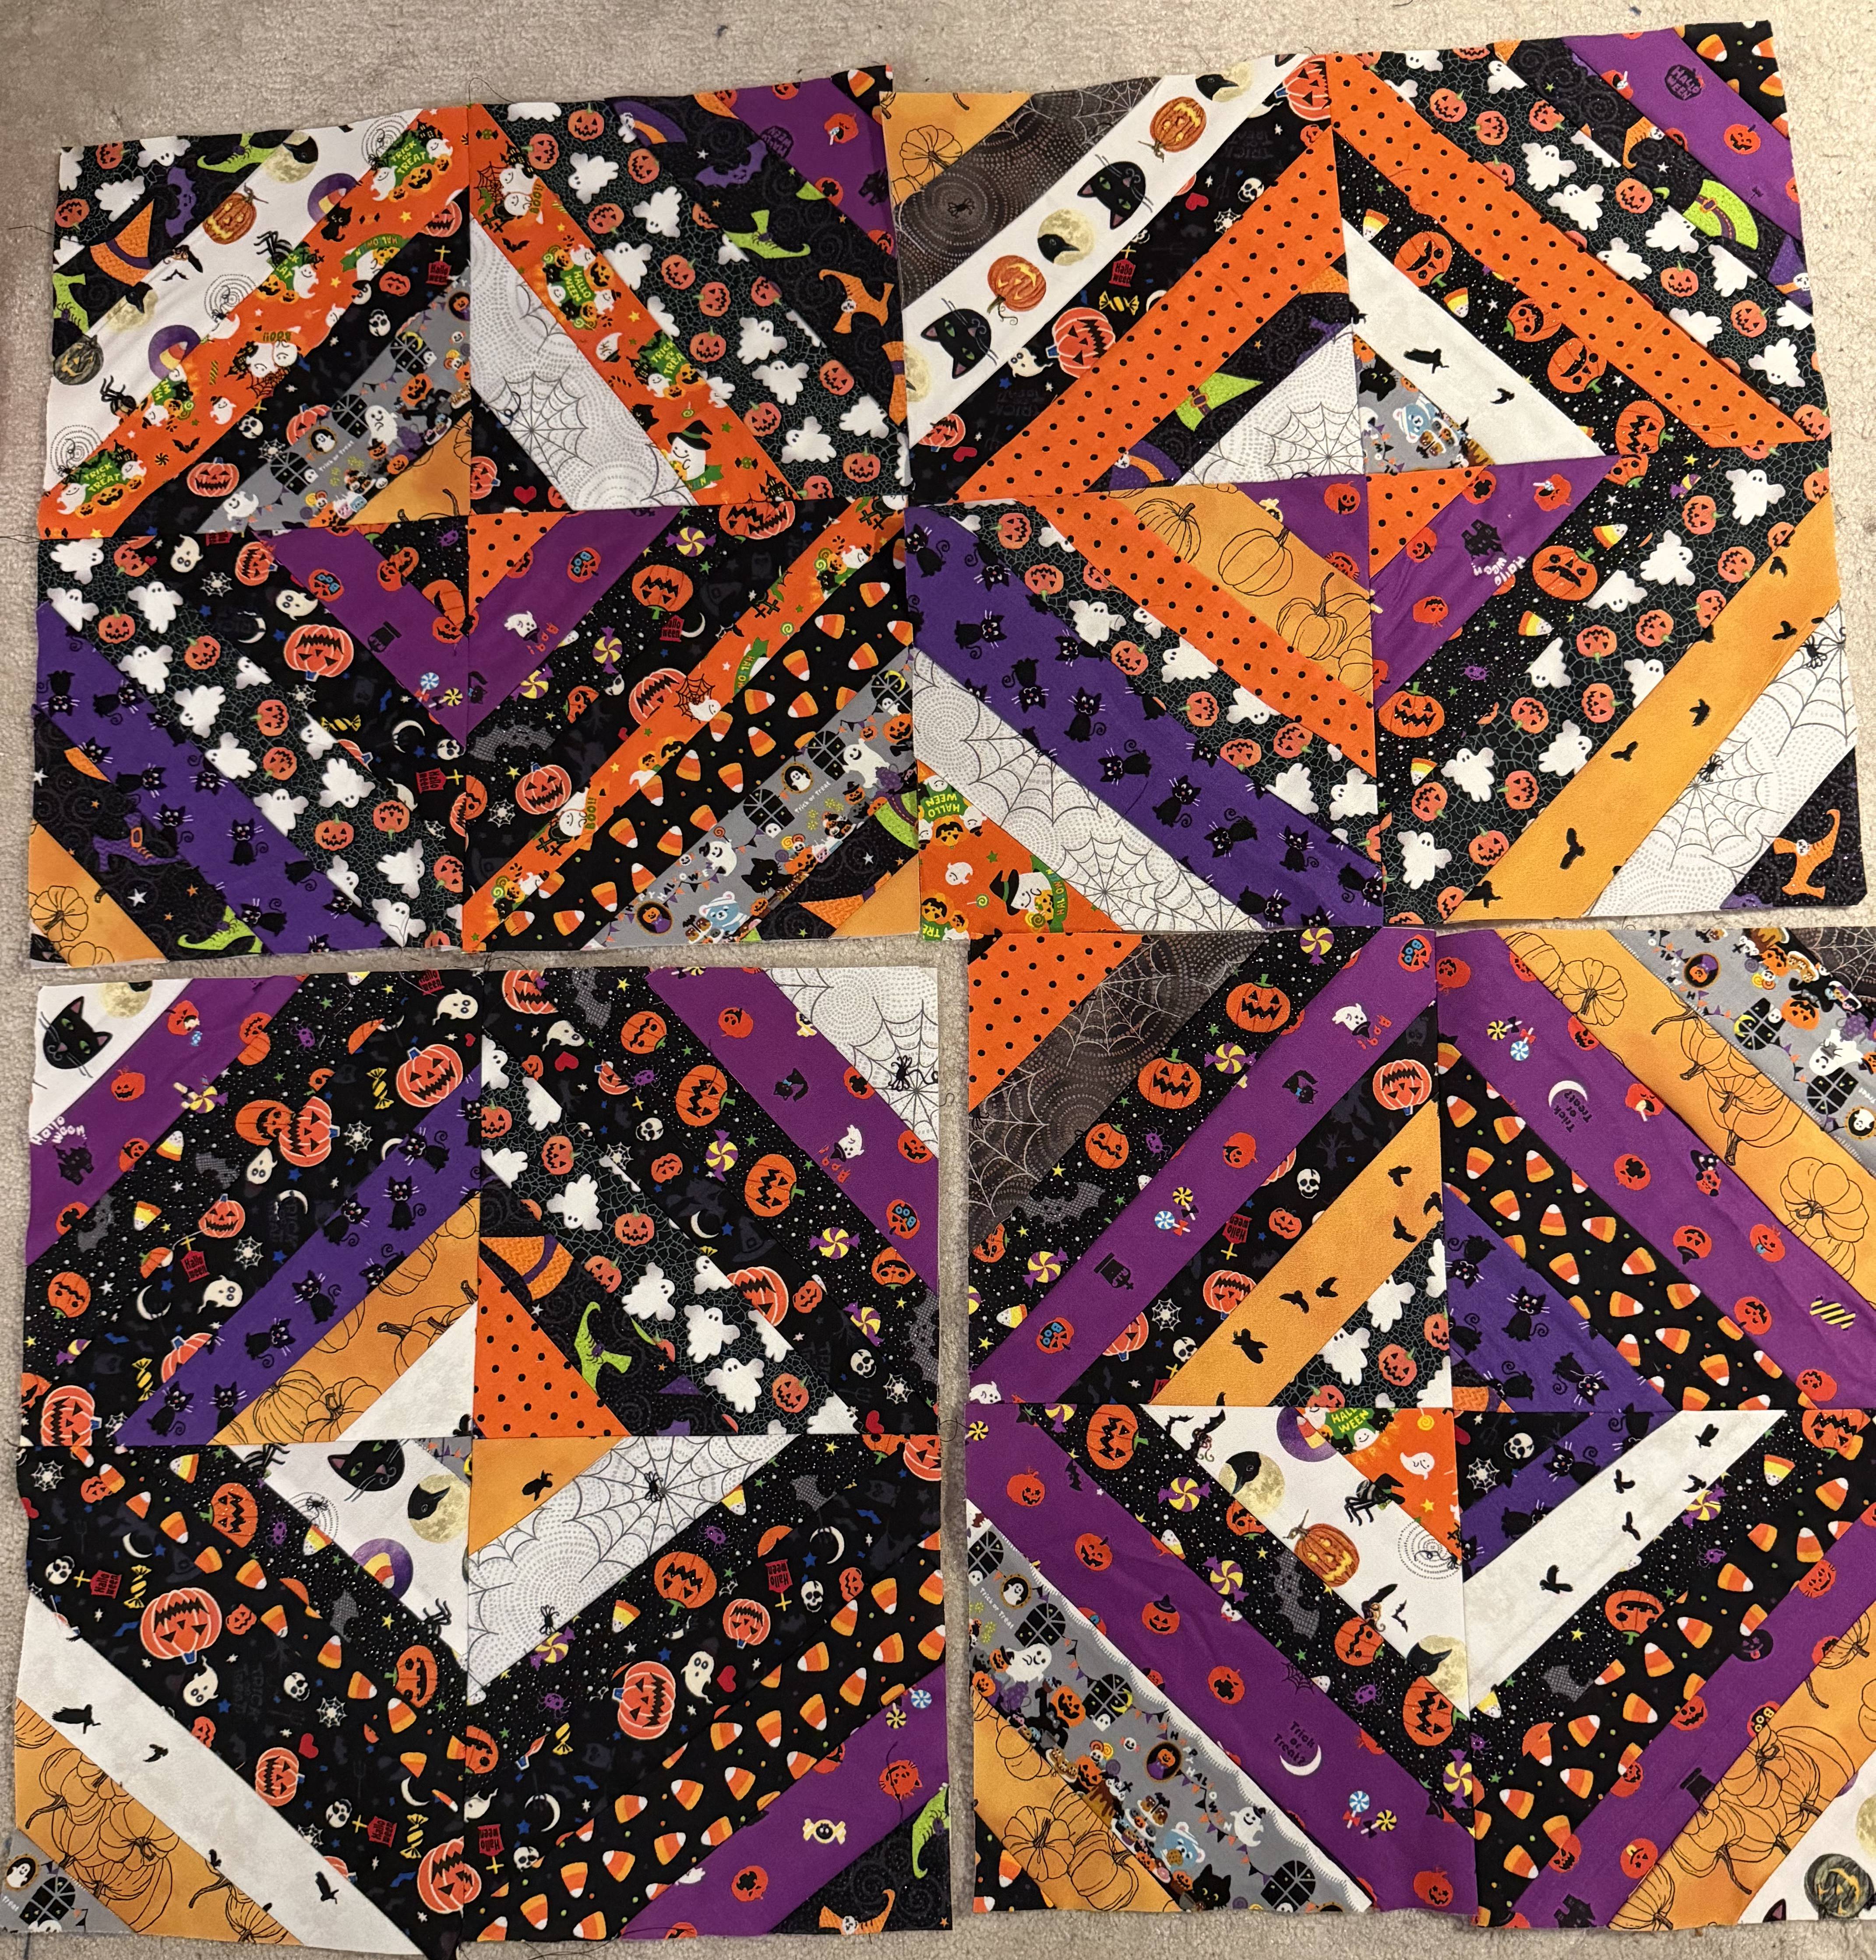 Like so. Here are 4 sets of 4. As you can clearly tell at this point, the stripes were not planned out nor were they remotely uniform. I wanted this to be pretty freeform and so it is!
At this point, the hardest work really was behind me. Piecing these striped blocks felt like it took forever, so assembling the blocks is such a breeze in comparison. I think I put the whole thing together in a half hour at this point:
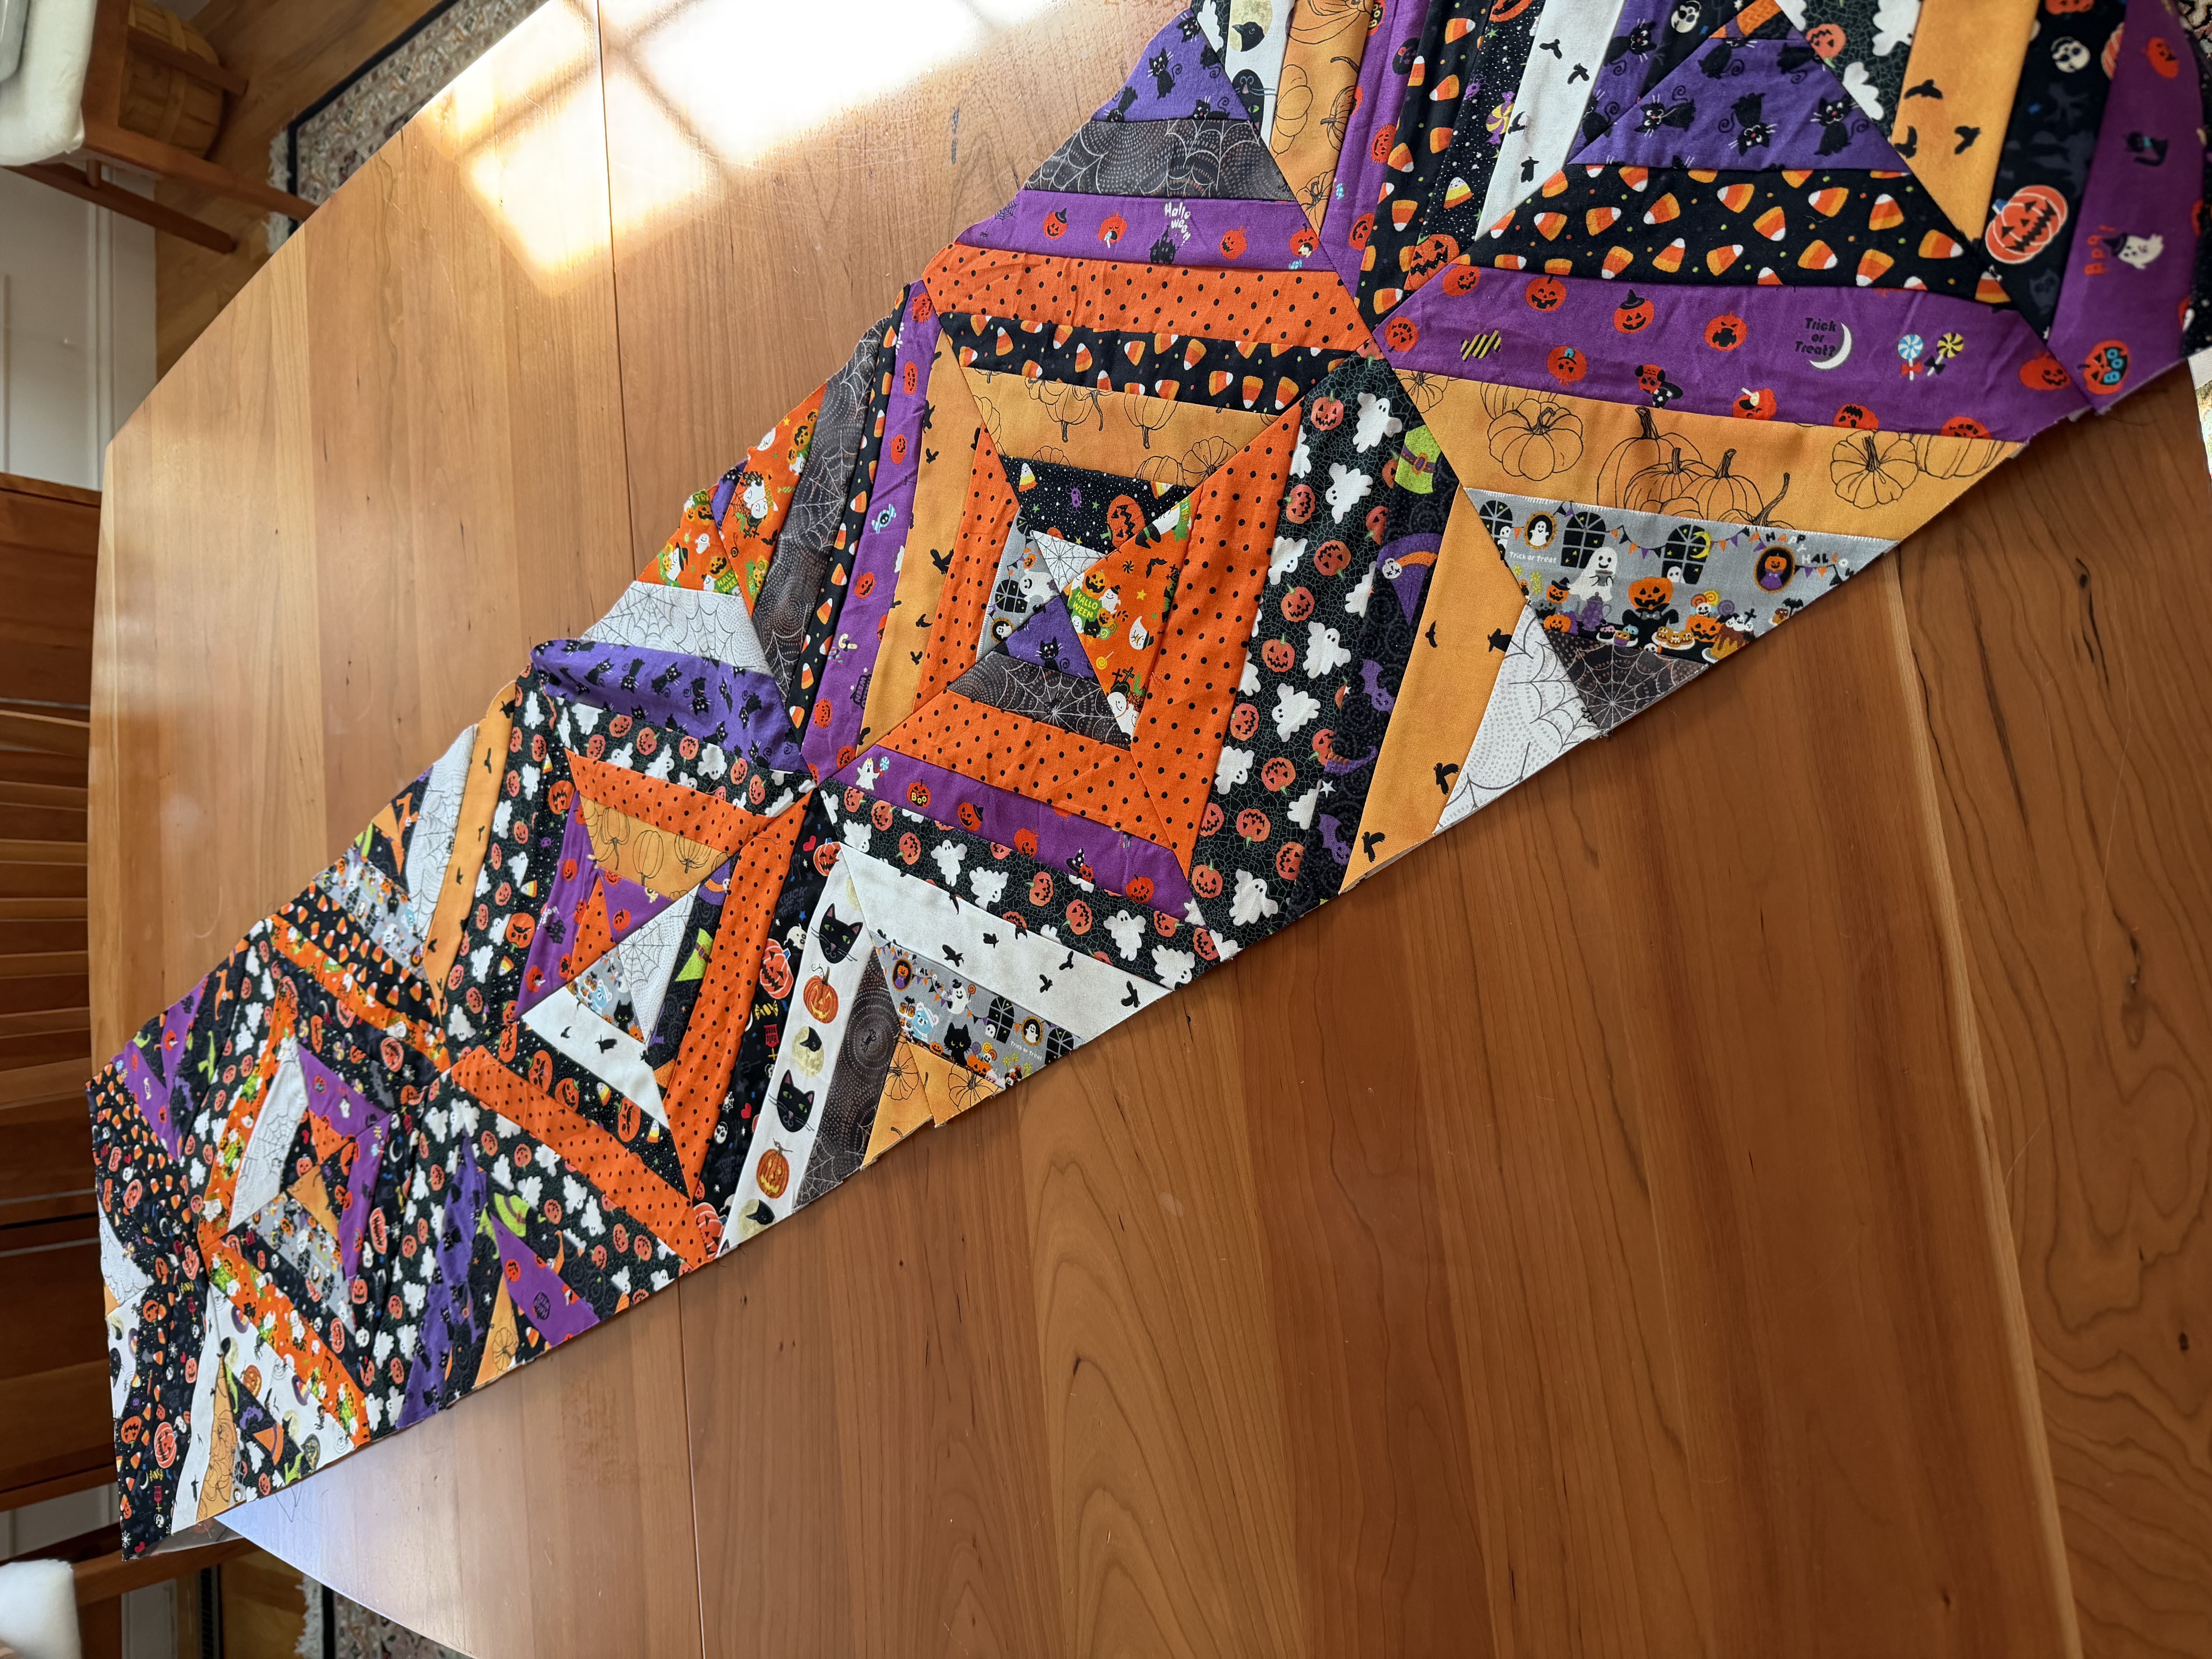
Here it was in progress, where I saw it all together for the first time. And I posted it on Bluesky because genuinely I really DID NOT like how this looked.
My husband also gave it a “WHOA!” and not in a good way. This is a loud, gaudy, tacky thing! I knew it would be but I think the degree to which it is all of those things really surprised me when I put it together. My original intent was to put this on a console table, and that is what I sized it for, but it felt just… way too much. Too Much Hallween Muchiness.
Wonderful folks on #quiltsky said to keep going, and I had a rare moment of good judgement and actually listened to good advice when it was given to me.
And so, I kept going.
I don’t have photos of the next steps so I’ll just go step by step:
-
I used June Tailor Quilt Basting Spray (use whatever brand you like) to baste the quilt sandwich - the batting and the base layer.
I used some batting scraps I had in storage and whipped them together to make the batting for this, and while I had intended to make the backing fabric thematic - black and orange, Halloweeny - it ends up I didn’t have enough of it! Nope, I hadn’t checked, and had only assumed. 🤦♀️ 🤦♀️ 🤦♀️ ARGHHH
Thankfully I had learned some good quilting basics from my mom, who is a wonderful quilter, and as many people learned to use bedsheets as quilt backing, I similarly had been taught by my mom to use muslin. As a result, I usually have reams of the stuff around - it’s cheap and easy to get, and it’s useful for garment sewing too so…. I thankfully had plenty on hand to back this quilt as well.
I had learned to baste quilts with big basting threads and hand sew the whole thing and whoaaaaa I did not care for that process any time I attempted it. Basting spray for the absolute win, VASTLY prefer using it, and I love that you can still reposition the fabric to correct inevitable mistakes and bunchings.
VIP = Very Important sPray
-
I can’t remember where or how I got the tip to try Bottom Line quilting thread, but I had some of it, black 60wt 2-ply, and used that to quilt the layers along with a walking foot. (Oh yeah and I got a new sewing machine, heehee 🤭 more on that some other day)
I had never used a walking foot before, combining that with the very-fine strong thread and my awesome new machine… well, it was like seeing in color for the first time after a lifetime of black and white. WHAT an incredible difference that made - it was so much faster and easier than any previous machine quilting I had attempted. In the past it had been so difficult I found hand quilting to be just faster and easier, but certainly that’s not the case anymore!
-
In two evenings I did some very basic quilting - just along major seams and diagonals - and then after edge-trimming the whole thing, I used some half-inch black binding to finish the whole thing. That binding size was too narrow and it was SUPER annoying to work with, but it’s all I had on hand (leftover from a garment project last year). It did the job.
Once the whole quilt was done, I did the only logical thing and took it outside at dusk to photograph it with some local autumn color in the background. Natural light in the golden hour always makes everything look incredible:
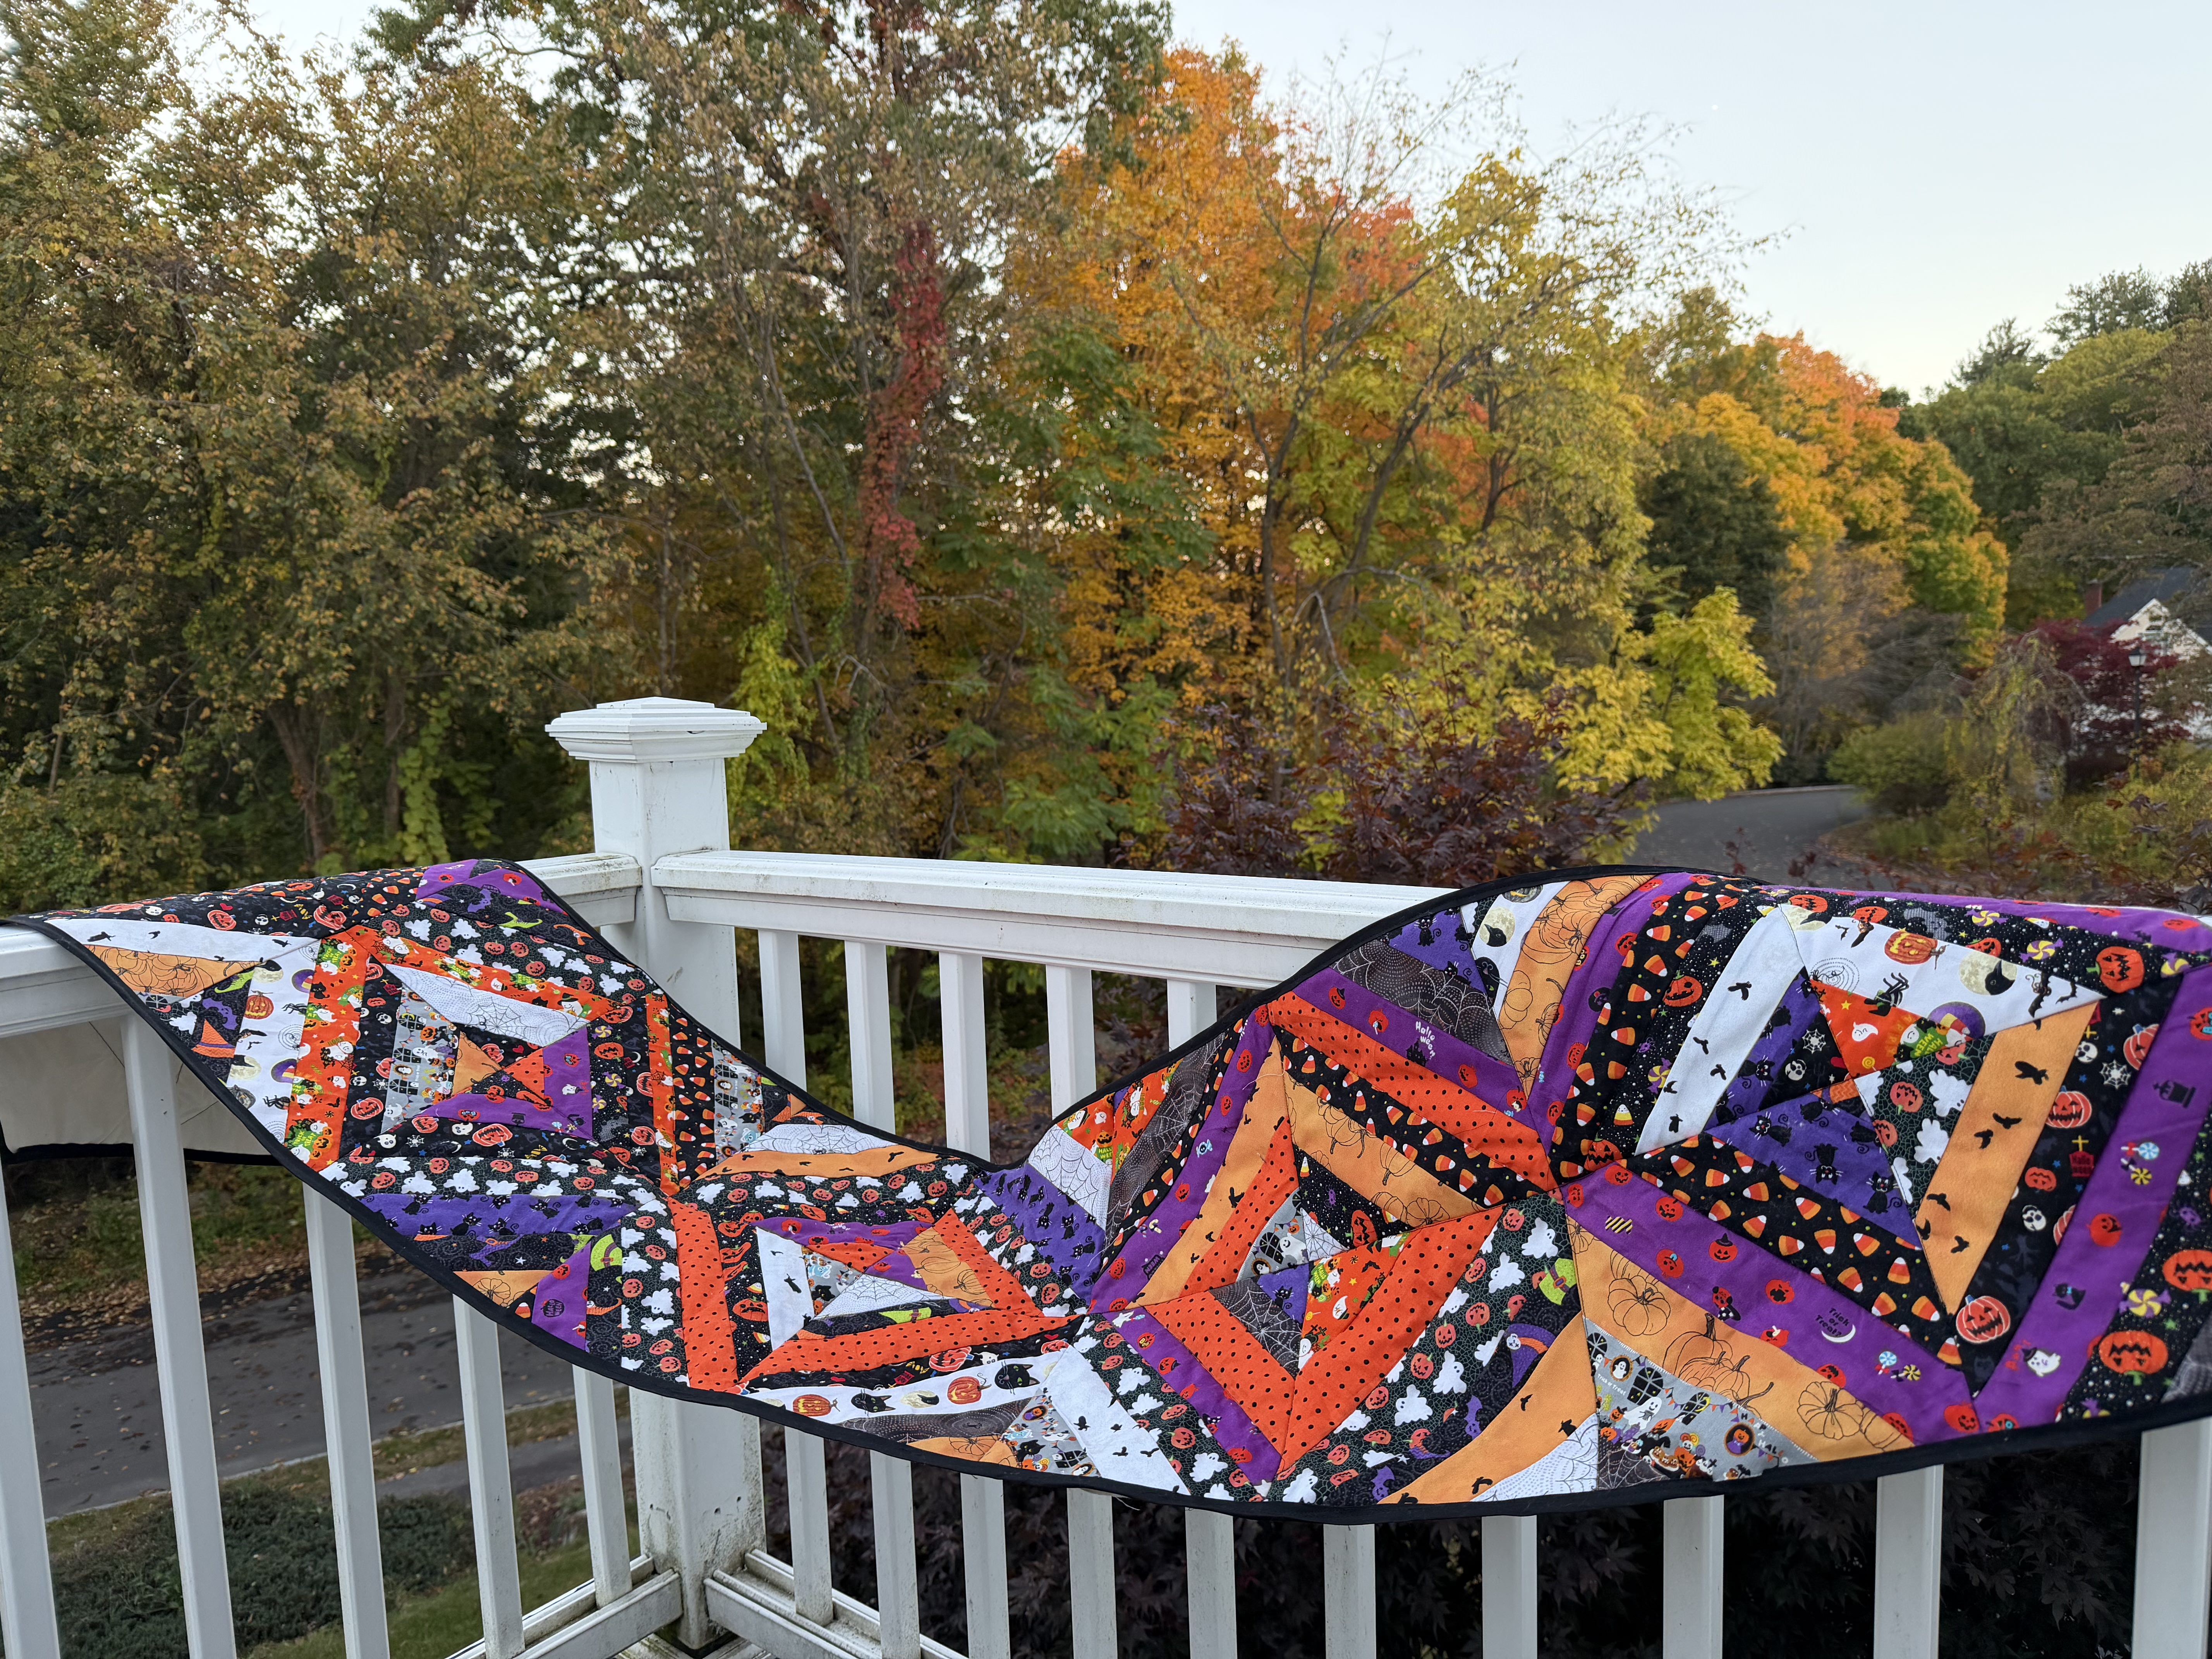
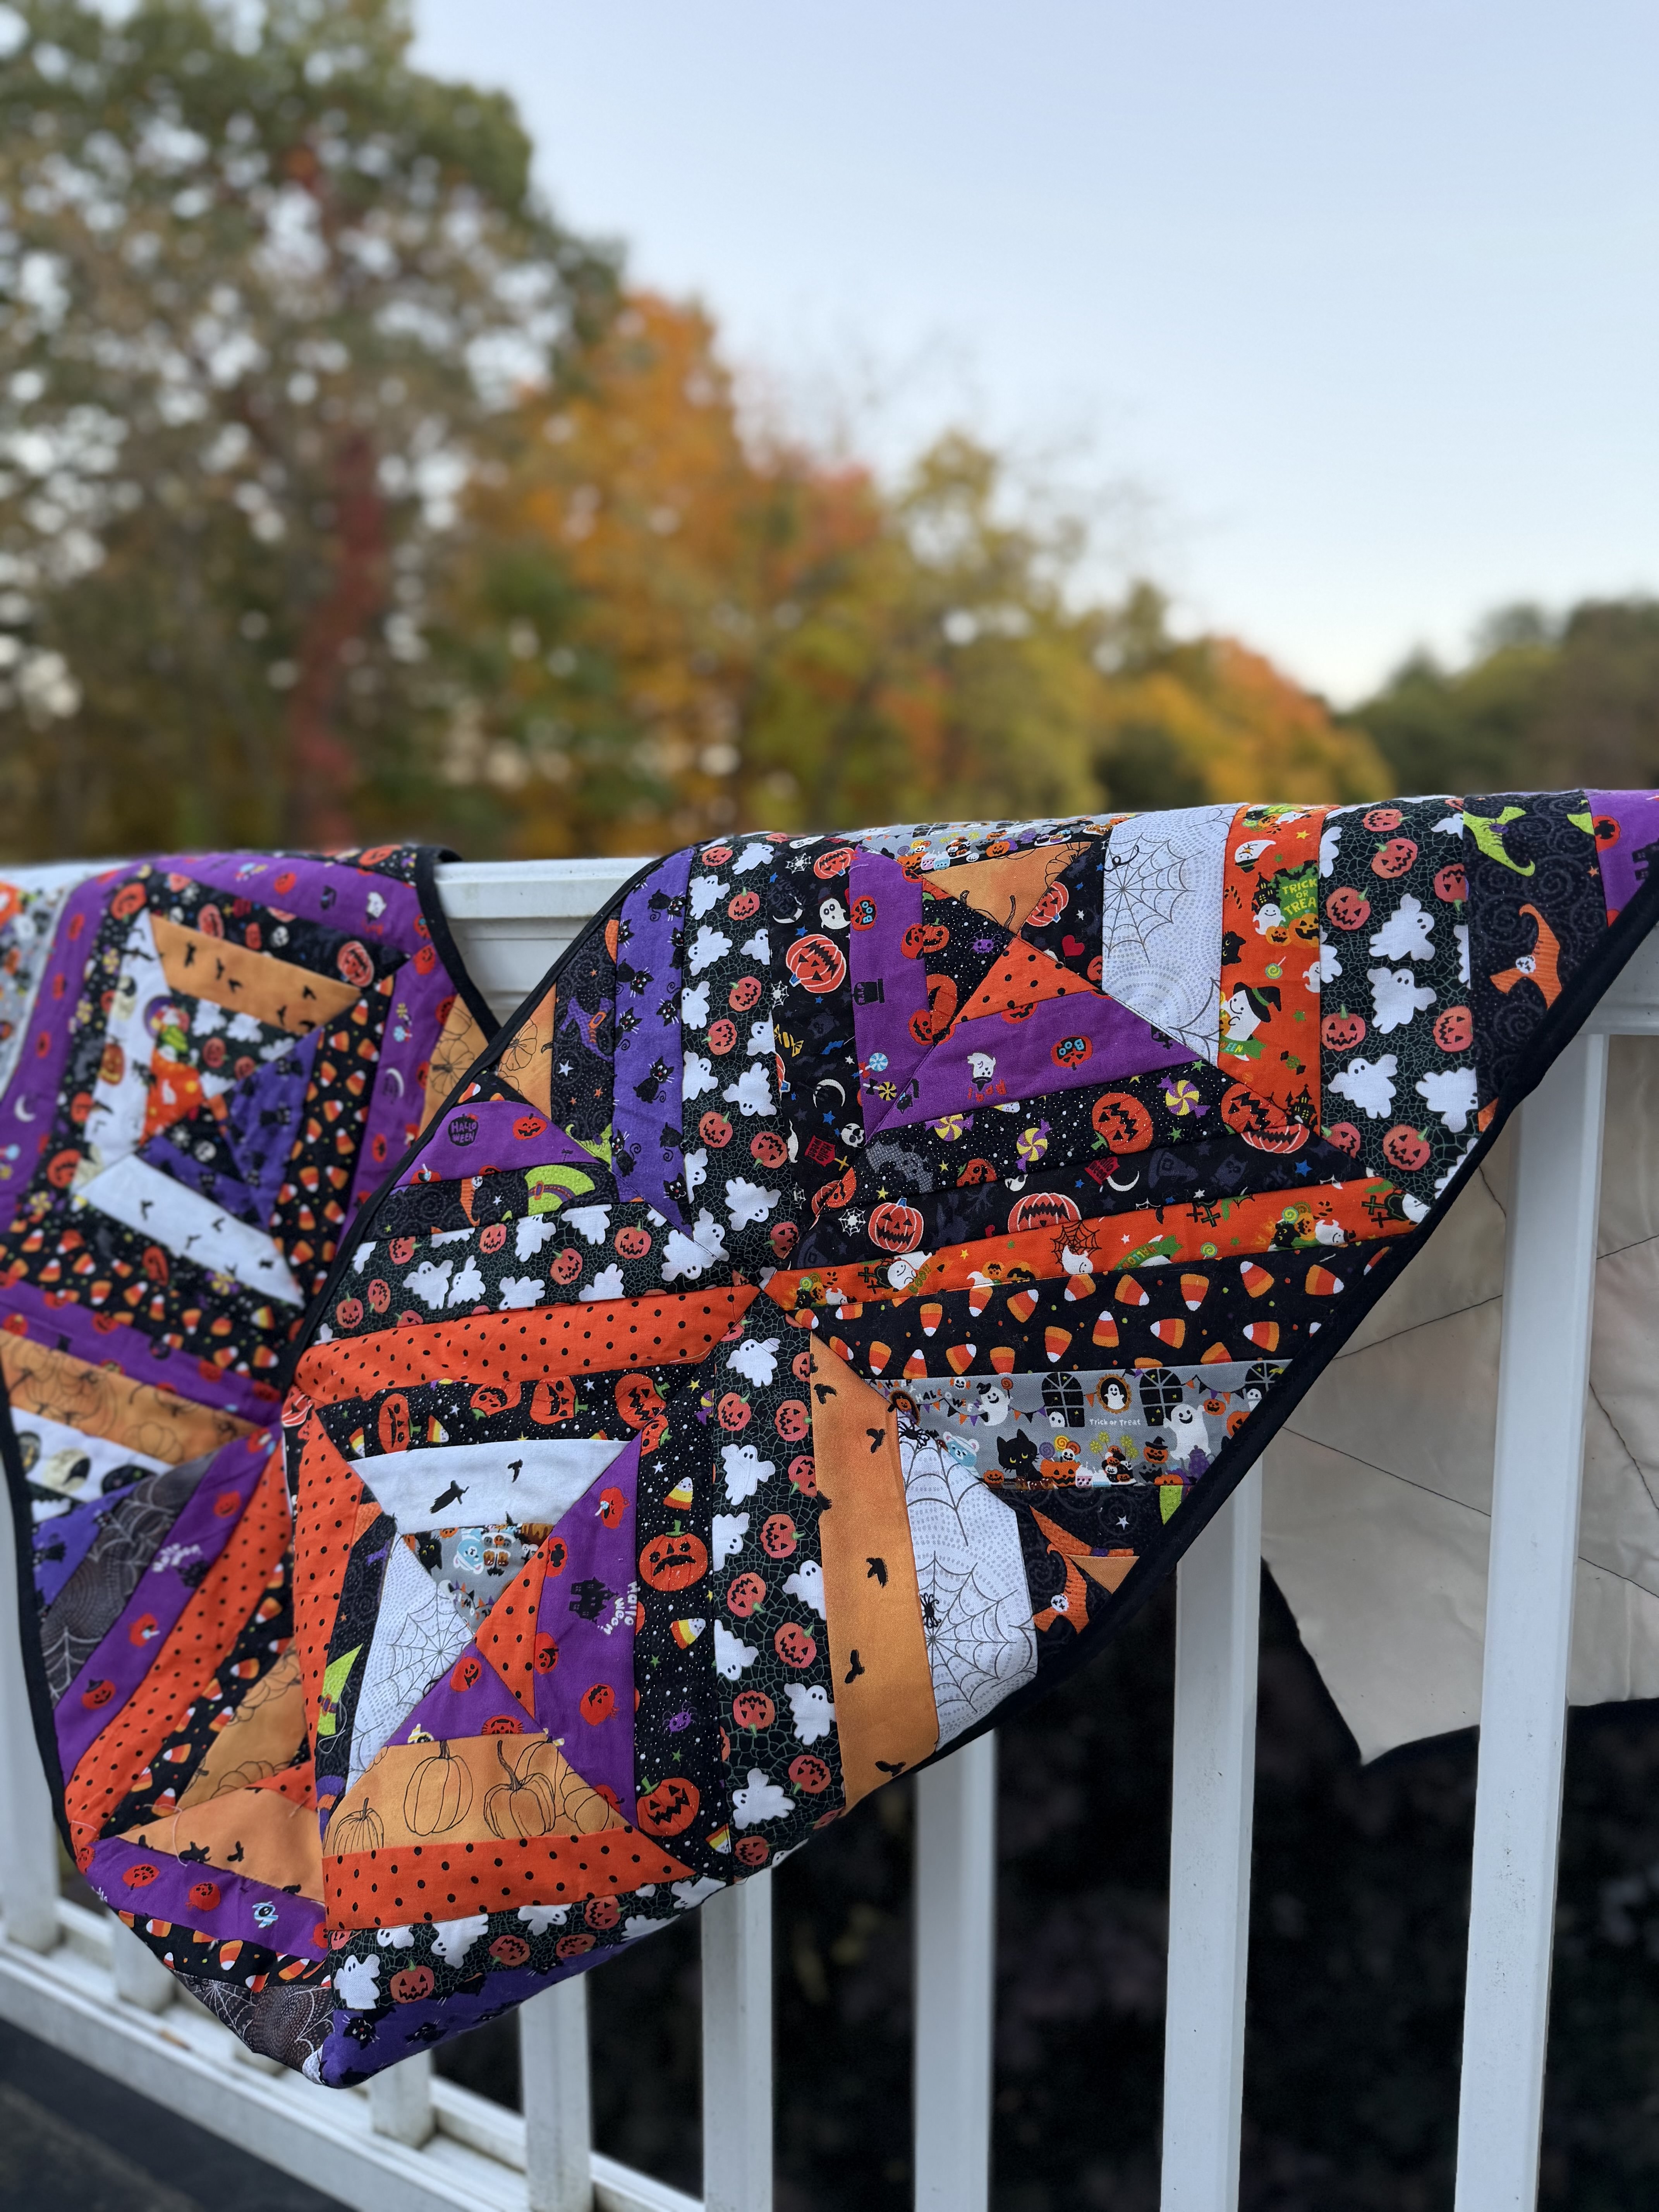
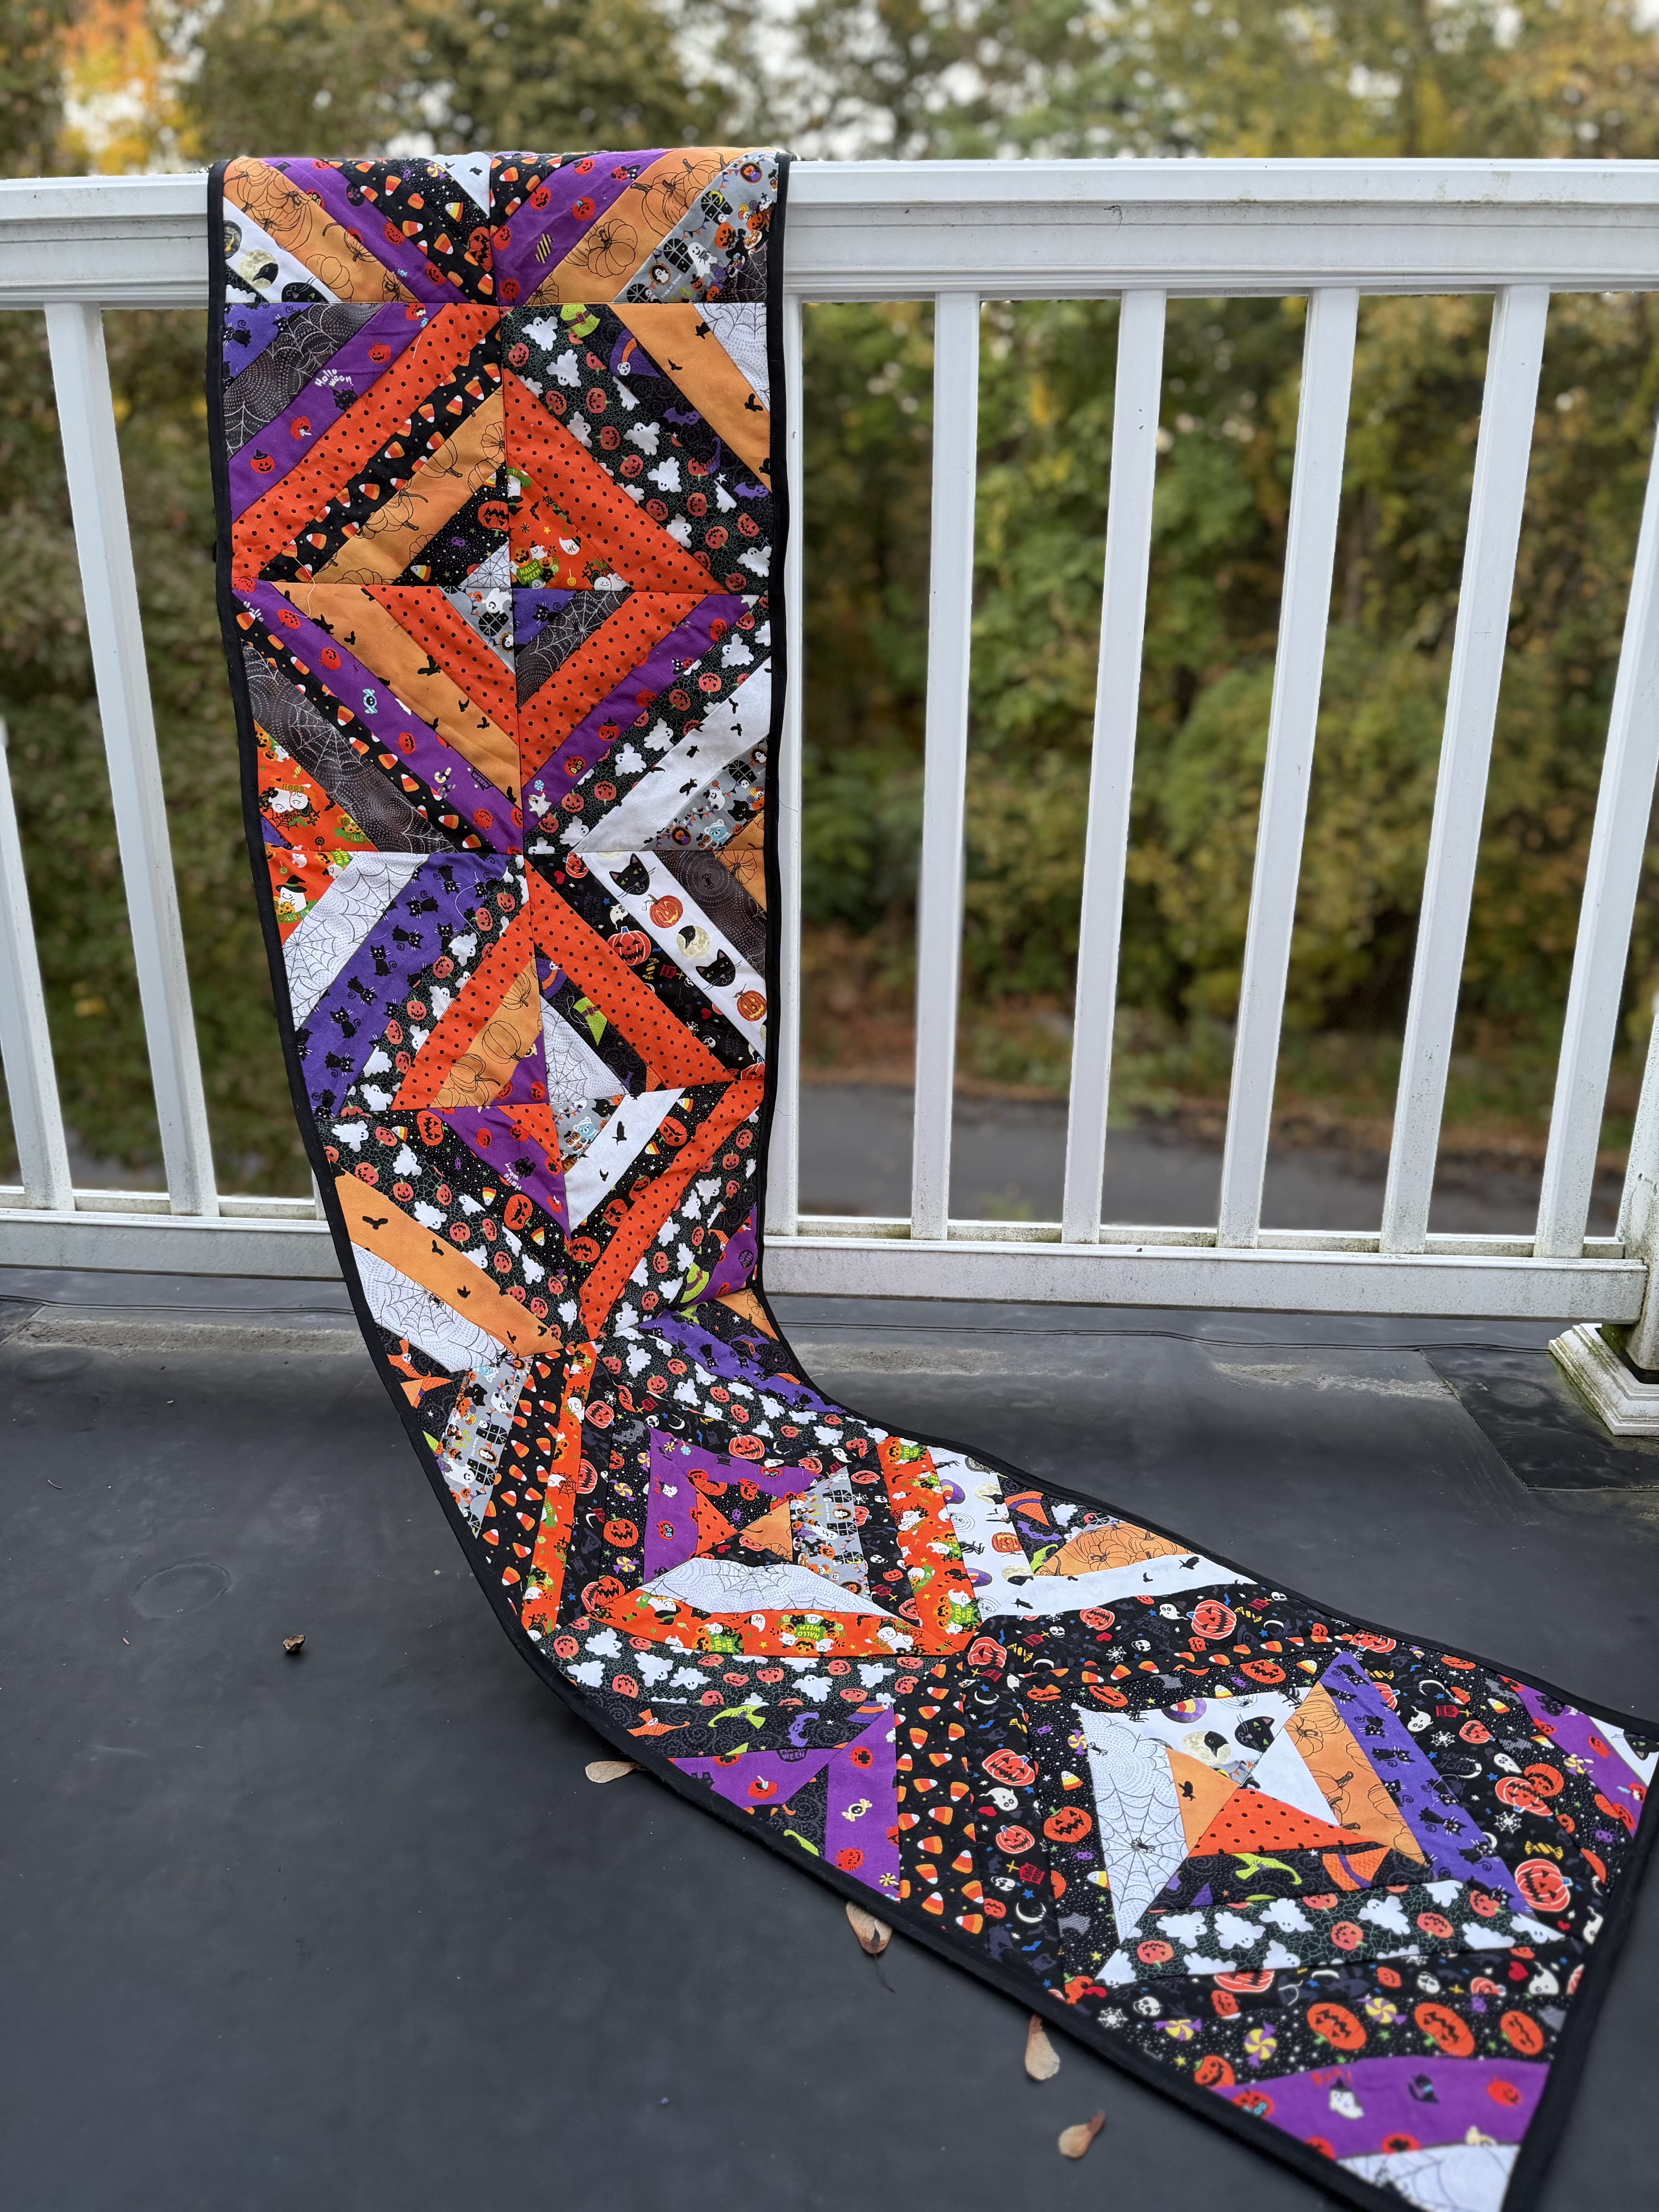
I’m very glad I stuck with this, thanks to the encouragement of #quiltsky truly. Even when I took it back inside at night and put it across my dining table, it didn’t look as bad as I’d feared.
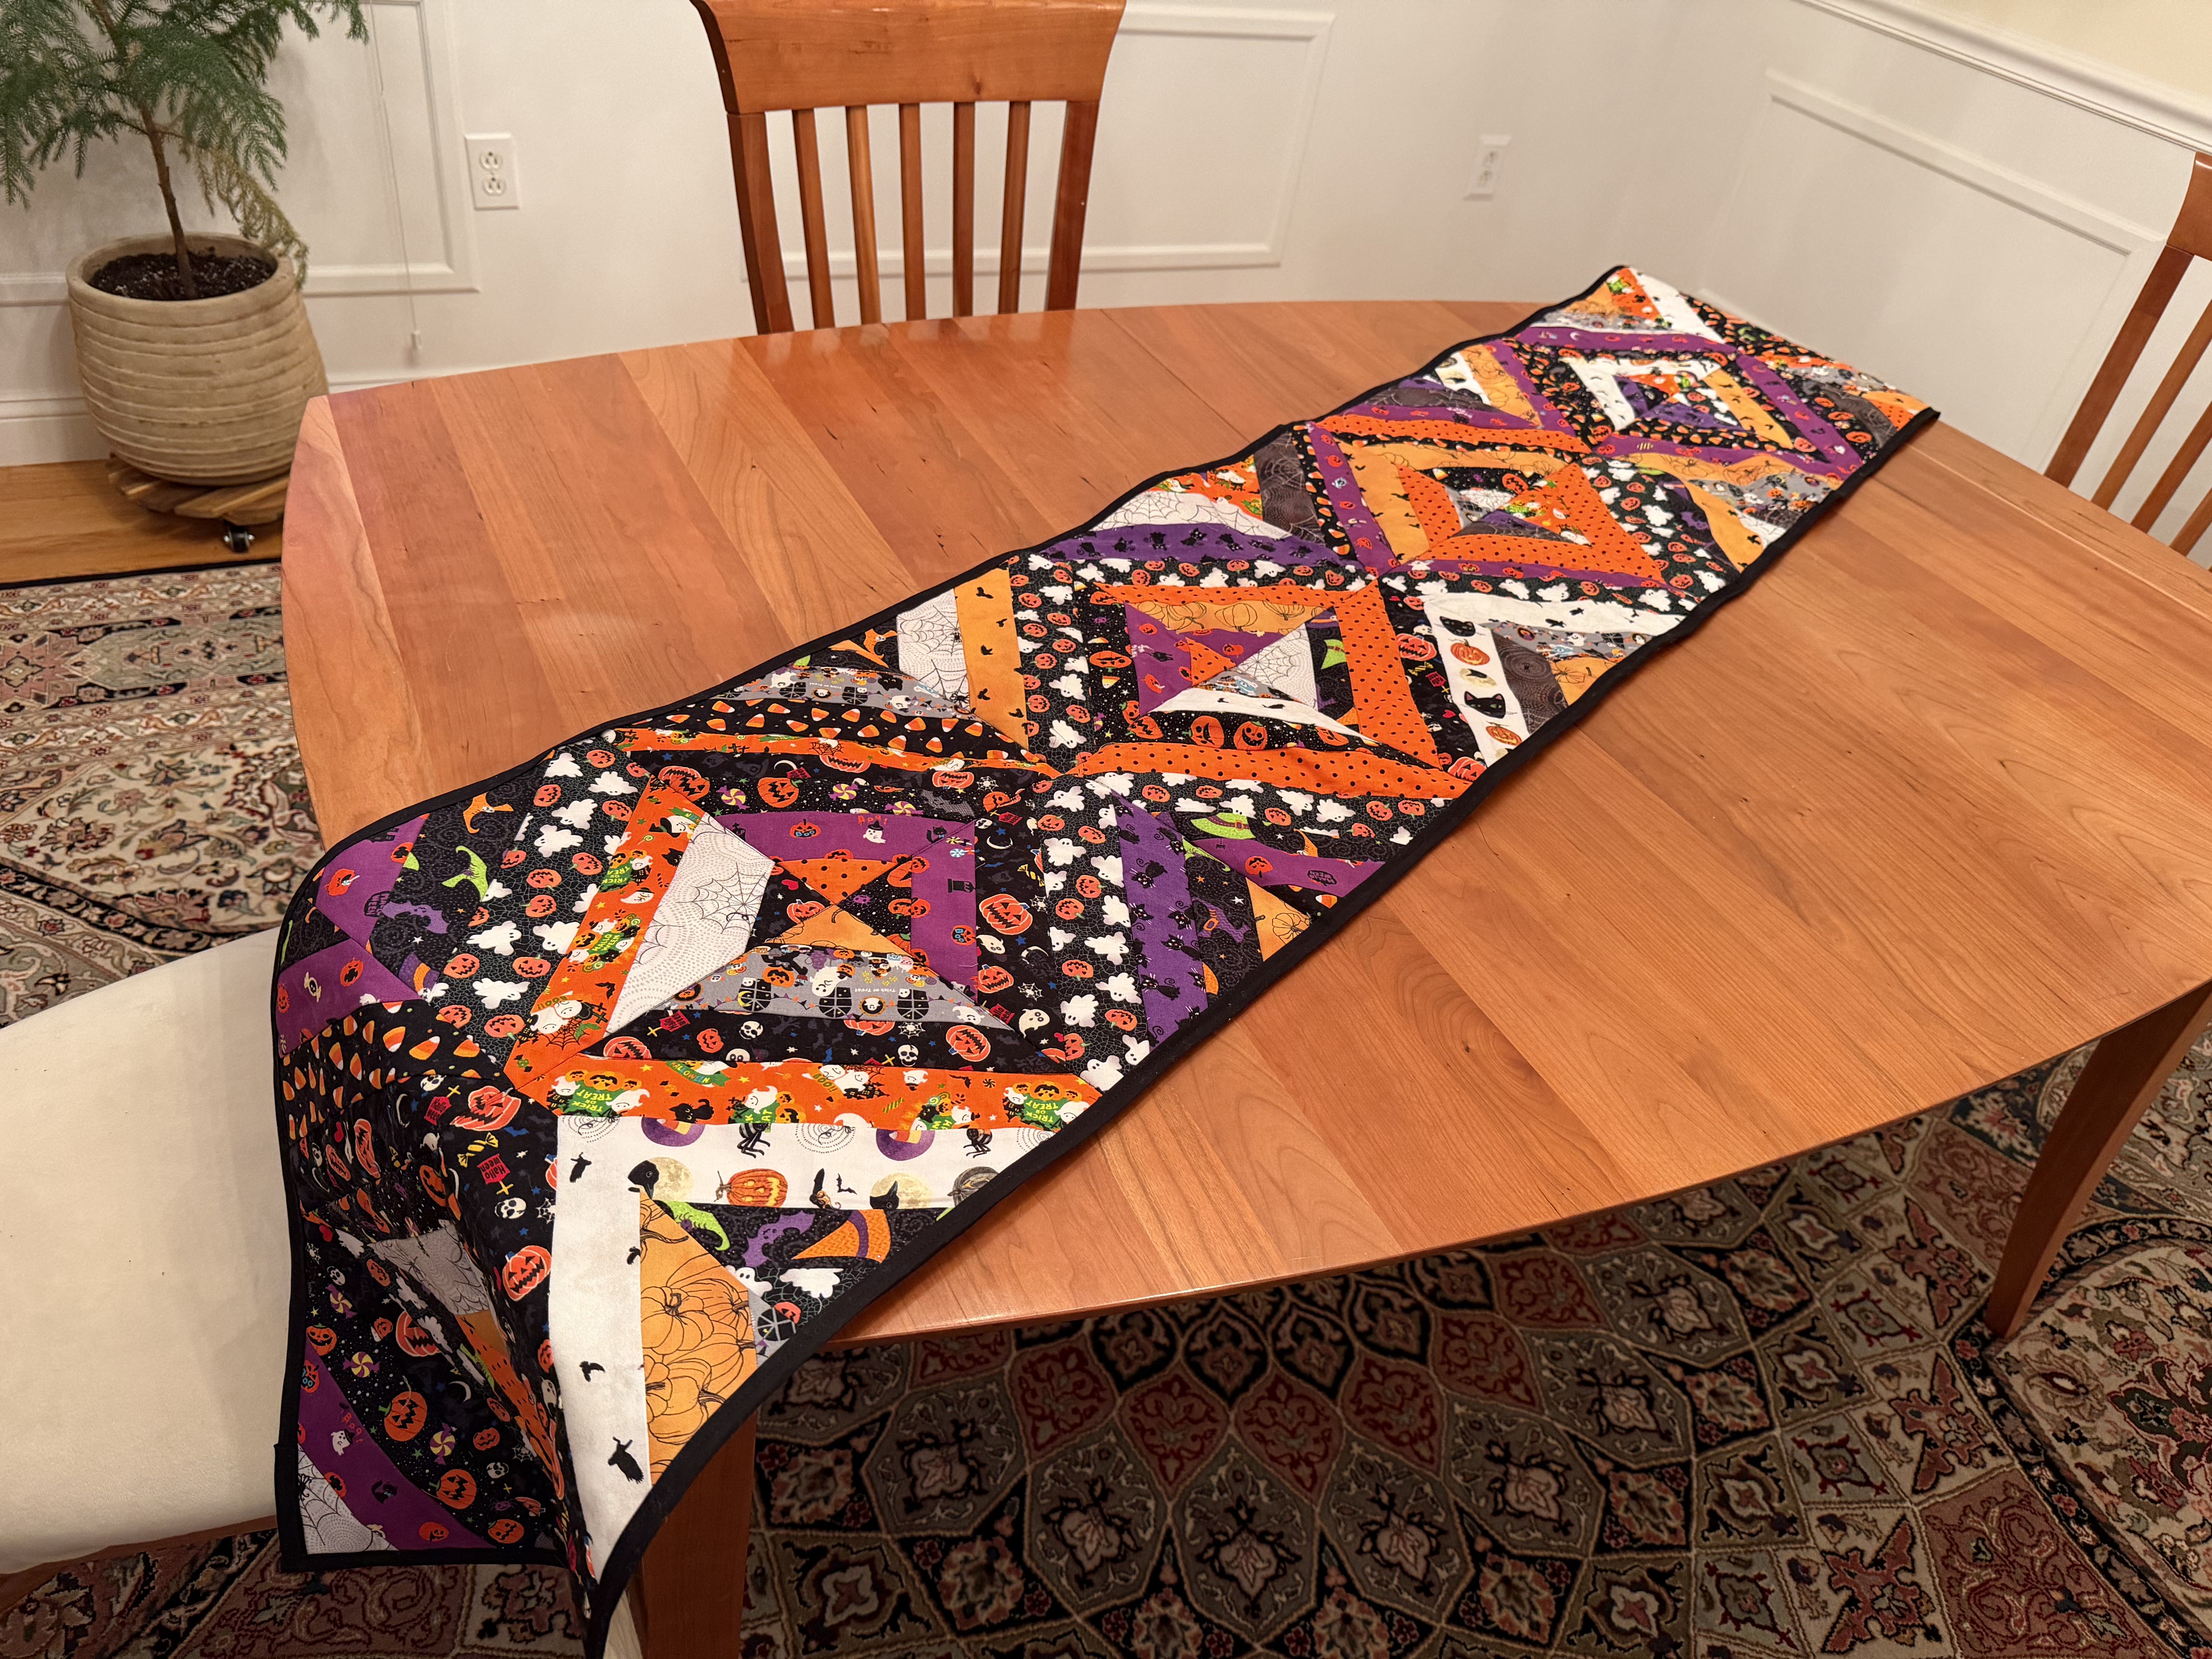
Don’t get me wrong, this isn’t tasteful or subtle in the slightest. It SCREAMS Halloween, candy, trick-or-treat, gaudiness and all. And that’s what it’s for, so I’d say it’s a win.
Most importantly for me, this is a project I sort-of started in October 2014 after a visit to the Nippori fabric district in Tokyo, and saw a number of adorable Halloween prints made in Japan. I bought a few fat quarters with no idea how I’d ever use them, and then a few years later I took one of them and cut them into strips… and then totally abandoned whatever plans I had, stuffed the strips into a bin and forgot about it until earlier this year. Meanwhile cute Halloween fabrics continued to accumulate in my stash…. please note the use of passive voice there, ahem… and even after this project I still have a few leftover but not very much.
This was a great Halloween fabric stash buster and I’m so very glad it is complete. Feels great to be able to say I picked up a project from over a decade ago and ACTUALLY finished it!